Learn how to add contacts to your projects and how to organize them in groups to easily select your audience for surveys and broadcasts.
To prepare, navigate to the project you would like to add the contacts for. If you don't have a project yet, go to the dashboard and create a new project by clicking on "Create Project".
1) Go to the "Contacts" section in the project you would like to use
To add contacts and see all existing contacts in your project, navigate to the tab "Contacts".

2) Recommended: Define contact groups
We recommend to first think about some groupings for your contacts. Think about whether you would like to send your surveys or broadcasts to some specific sets of people (for example people in a specific project, country, region). Based on that start off with a small number of groups - you can easily add further groups later-on.
First navigate to the section "Groups"
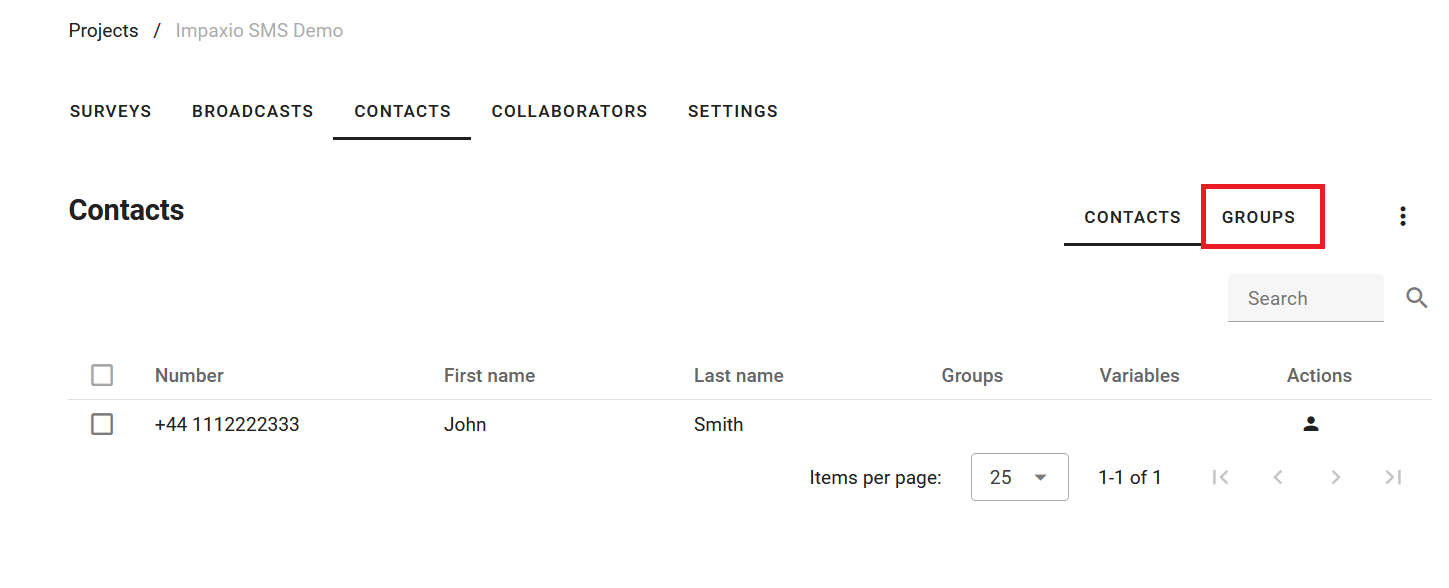
Then tick on the three points to see the button "Add group" - click on the button.

Now you are shown a simple form to add your first group. Add the group name and click on "Create". Repeat the process if you would like to add more than one group.

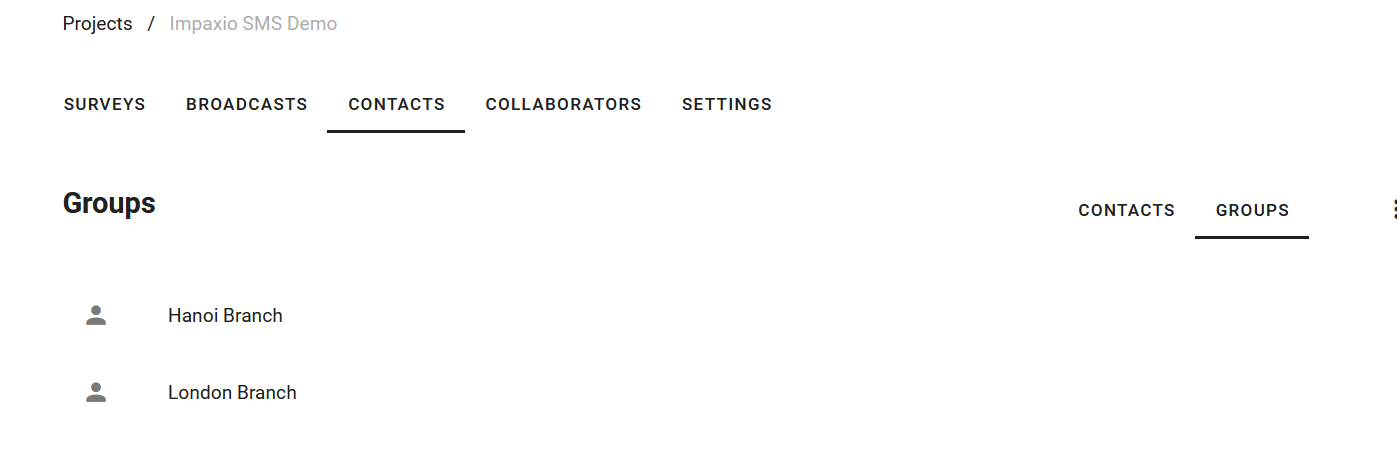
Now you are shown all groups already added. In our case, we have added groups for the Hanoi and a London branch. In the next step, you will see how you can allocate contacts to these groups.
3) Adding Contacts
You can either add contacts manually or importing them in bulk from a spreadsheet. We recommend importing for large numbers of contacts.
Option 1: Adding contacts manually
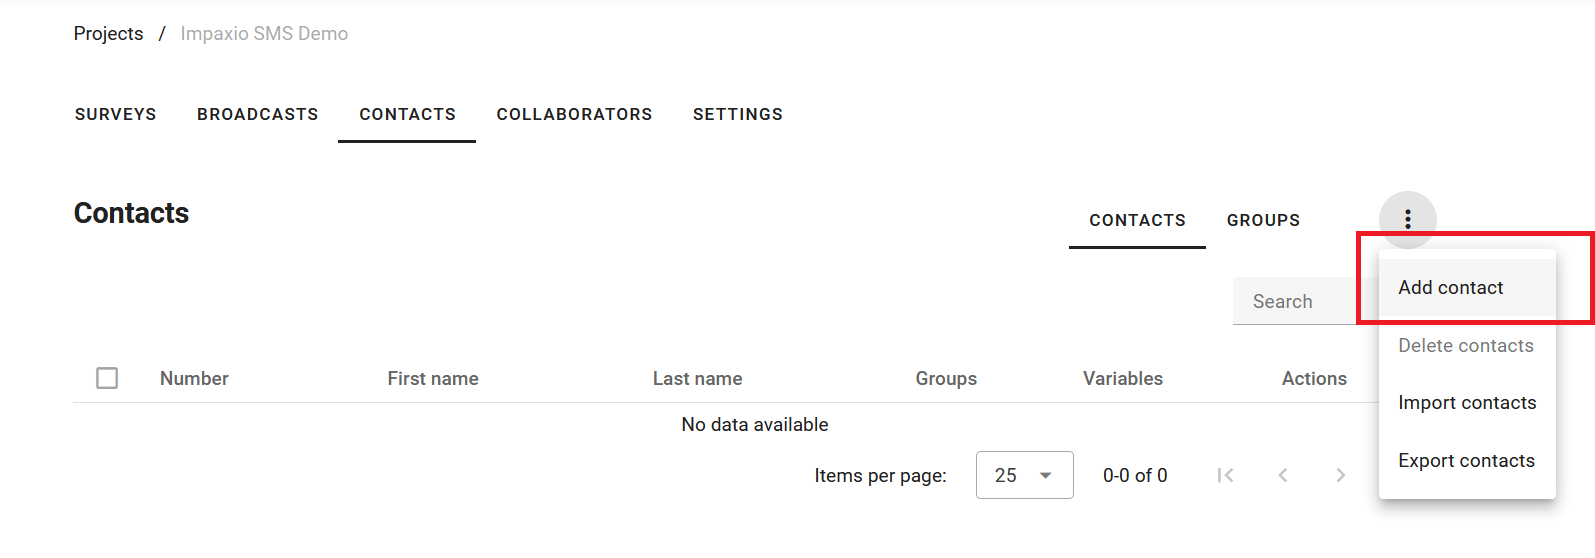
To create a new contact manually, click on the button "Add contact".
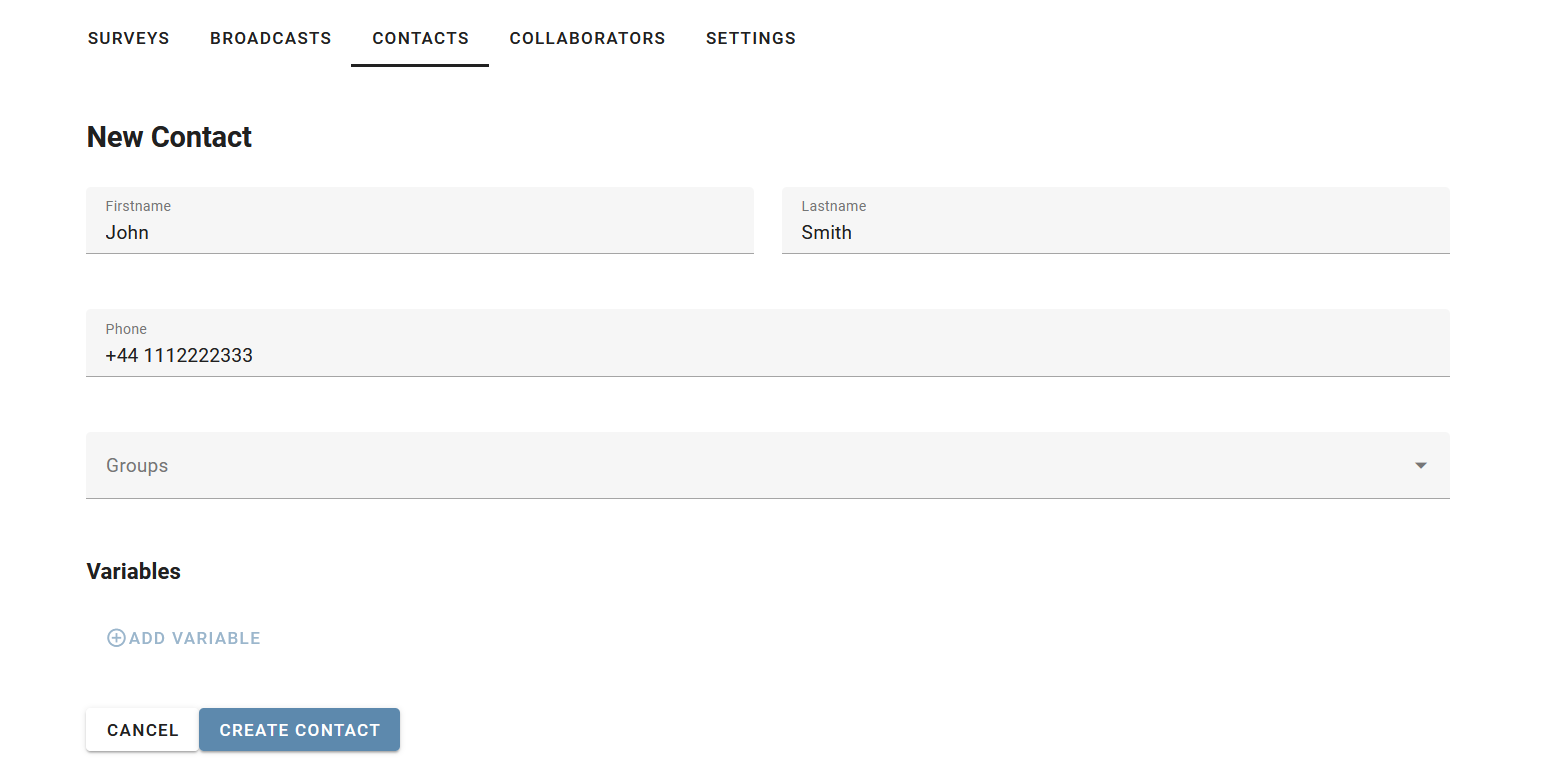
Once you have clicked on the button, a form is shown where you can enter contact details such names. Phone number is a required field. Add the phone number including the country code (starting with +; for example +44 for the UK). Click on the "Create Contact" button to add your contact to your contact database.
Option 2: Importing contacts from spreadsheet (recommended)
Uploading contacts in bulk from spreadsheets can save you a lot of time when you have many contacts, but you have to pay close attention to our formatting requirements (otherwise, it won't work). Here we show you how it works:
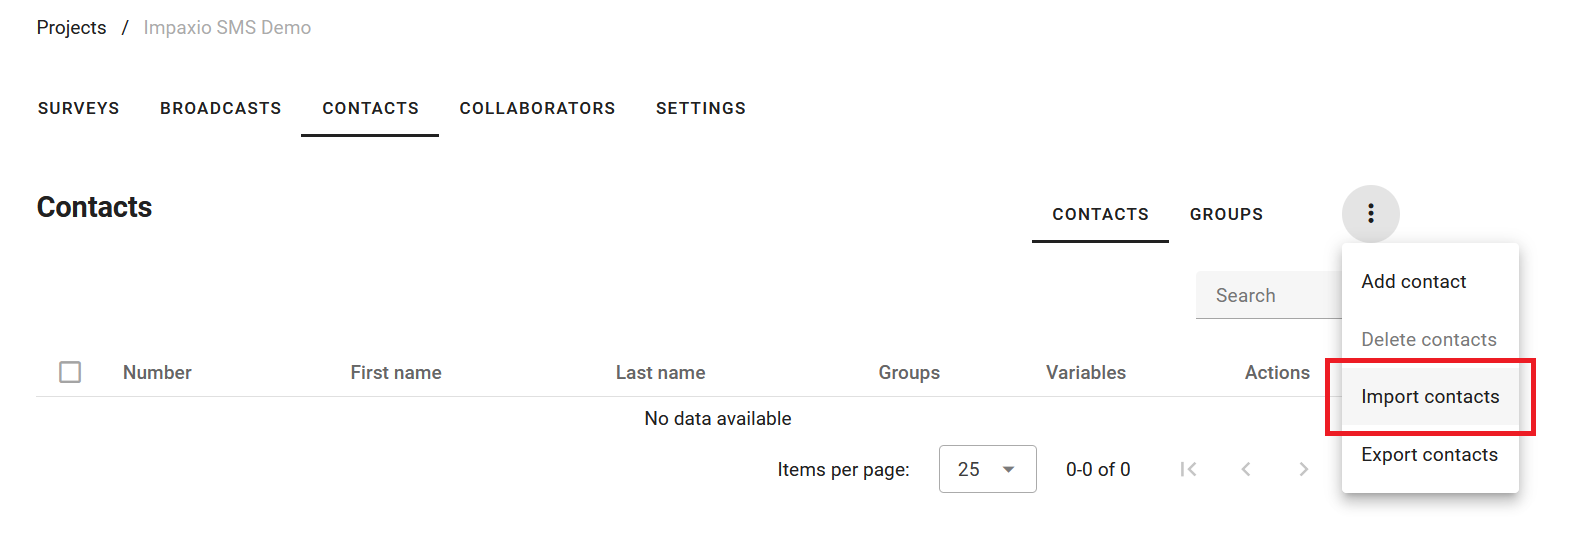
Navigate back to the contacts section and click on the button "Import contacts"
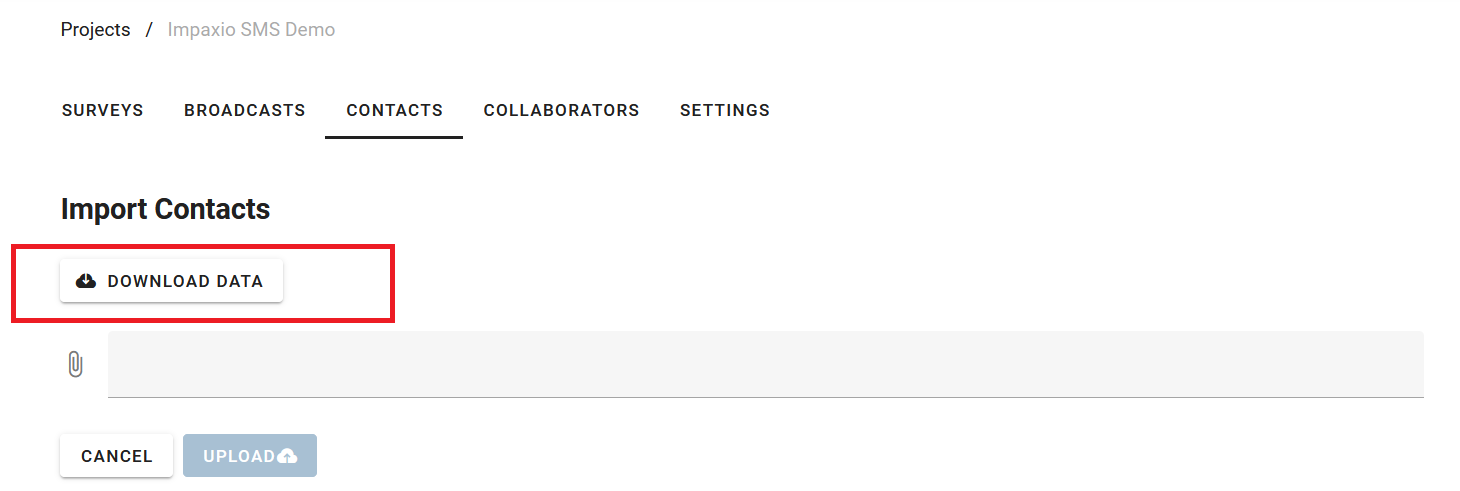
You will be shown a form where you can upload your spreadsheet (once it is ready), but first download the spreadsheet template by clicking on "Download Data".
Now you will see a file called "contact_template.csv" in your download folder. Create a csv that reflects the template (semicolon delimited). Here's an example of the required csv format.
In the column "ContactGroups", you can add the names of the groups that you would like to assign to each contact. Use a "," if you would like to assign a contact to several groups. For example you can write "NairobiBranch,KenyaTeam" in the ContactGroups column to assign a contact to both the NairobiBranch group and the KenyaTeam group.

Once you have your CSV file ready, you can upload the contact data to the platform in a breeze. Select your contact file and click on "upload".
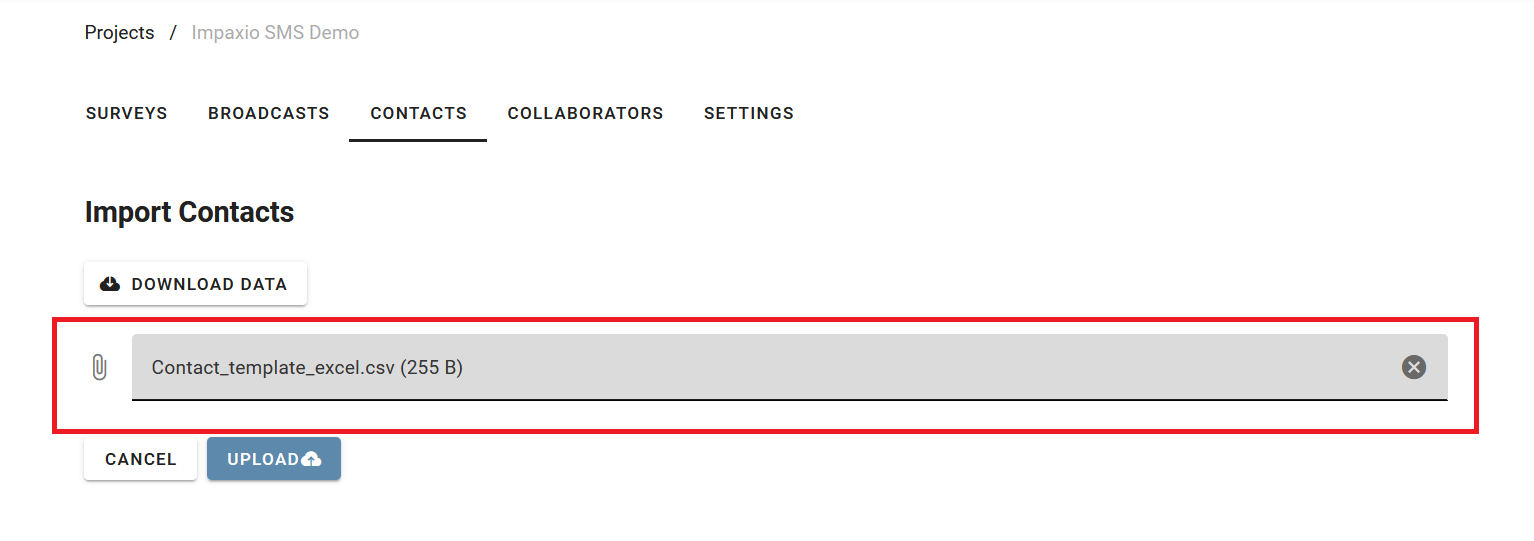
If you see "Contacts created successfully" it has all worked out. If you have received error messages when importing your contacts, please see below for possible issues and remedies.
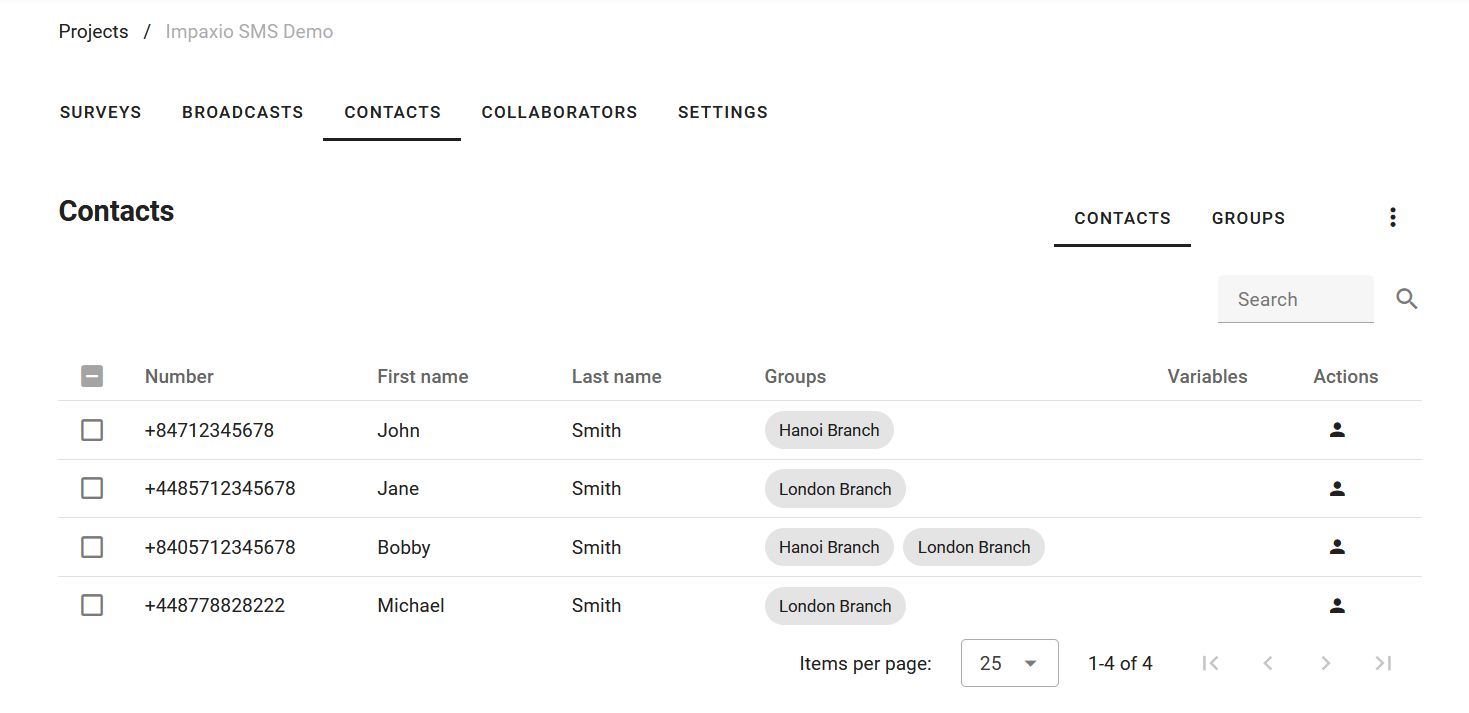
Once the contacts are successfully uploaded, you will see them listed in your contact overview page under the section "Contacts".
Was this article helpful?
That’s Great!
Thank you for your feedback
Sorry! We couldn't be helpful
Thank you for your feedback
Feedback sent
We appreciate your effort and will try to fix the article